Tuesday, September 21, 2010

Smoky Black Bean Chicken Wraps


Guess who was too lazy to cook dinner again??? Ding ding ding - you guessed it, ME! All the fall shows are starting up again, football is on, my SF Giants are in the pennant race, and it's all taking over my life. I have priorities, people.

And that's where my previous round of power cooking becomes super handy. On this occasion, I decided to make (or more like heat up) the Smoky Black Bean Chicken Wraps because I had tortillas and fun toppings (cheese, sour cream, avocados, and tomatoes) on hand. To recap, here's the recipe from my previous post:

Smoky Black Bean Chicken Wraps
To prepare and freeze
1 portion Make-Ahead Chicken
1 can (15 oz) black beans, drained and rinsed
3 tbsp Smoky Barbecue Rub, divided
2 cups cooked rice

To finish and serve
½ cup water
4 oz shredded cheddar cheese
6 11-in. flour tortillas
Shredded lettuce, diced tomatoes and barbecue sauce or Louisiana hot sauce (optional)
1. Prepare and freeze

In Bag 1, combine chicken, beans and 2 tbsp of the rub.
In Bag 2, combine rice and remaining 1 tbsp rub.
Seal Bag 2 and place into Bag 1; seal. Freeze for up to three months.
2. Finish and serve!
To cook and serve immediately:
Omit water. Place contents of Bags 1 and 2 into (12-in.) Skillet. Cook over medium-high heat 3-5 minutes or until chicken is heated through.
To assemble wraps, divide cheese evenly among tortillas; top with chicken mixture and optional ingredients, if desired.
Roll up tortillas tightly. Cut wraps in half on a bias and serve.

To cook and serve from freezer:
Add contents of Bag 1 and water to (12-in.) Skillet; cover. Cook over medium-high heat 6-8 minutes or until hot, breaking chicken apart as necessary using Bamboo Spatula.
Add contents of Bag 2 to Skillet; cook 4-6 minutes or until mixture is heated through.
Assemble wraps as directed above.

Yield: 6 servings

Alrighty then. Now that's out of the way, let's begin!
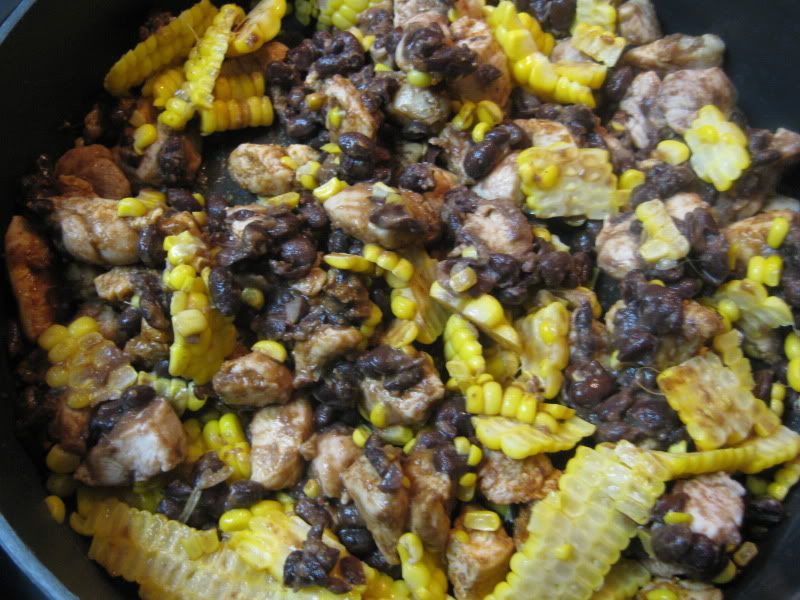
First, you take the bag with the chicken and beans and heat that up in a large skillet over medium. I know - WTF is corn doing in there? Well I had leftover corn on the cob, so I just cut off the kernels and threw them in there. Why not.
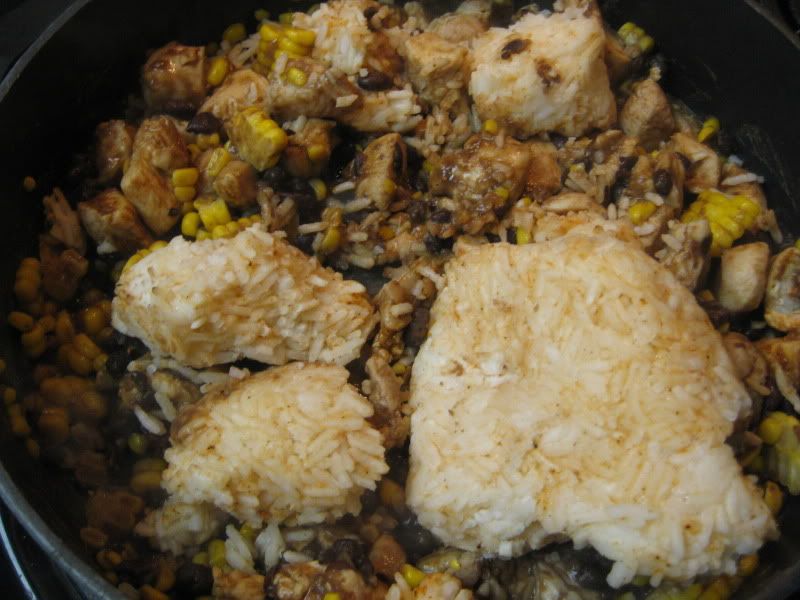

Then dump in the bag with the rice. It will be all clumpy because it's frozen, so just break it up a bit with a wooden spoon. It will all work out in the end.
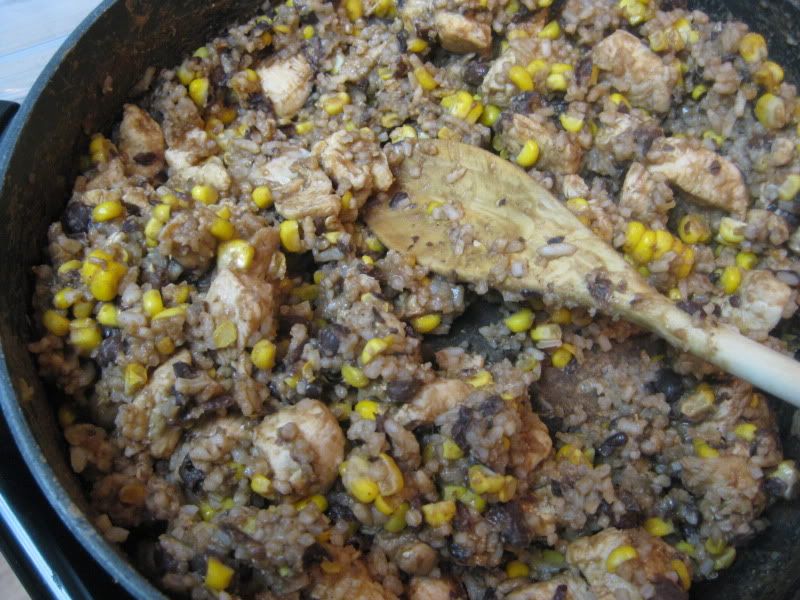

After it's heated through, it will look like the above. Now is the time to heat up your tortillas in the microwave and assemble your toppings.
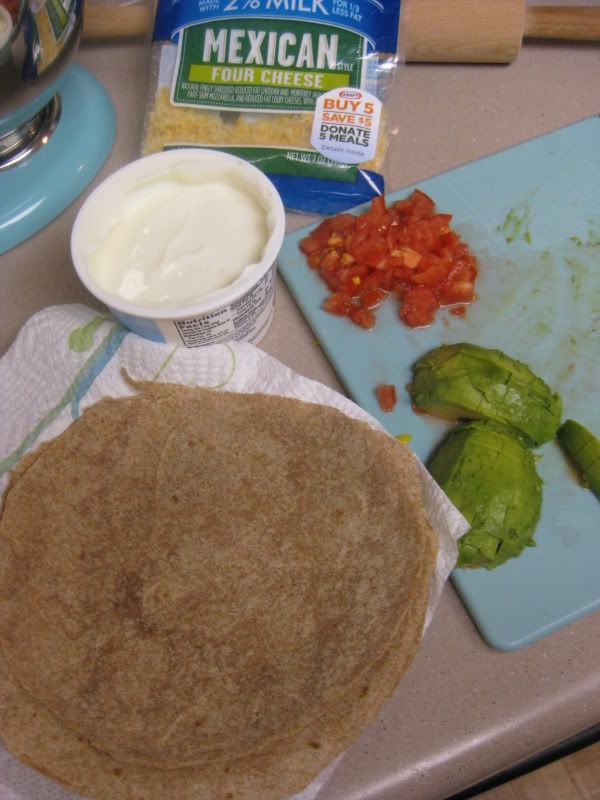

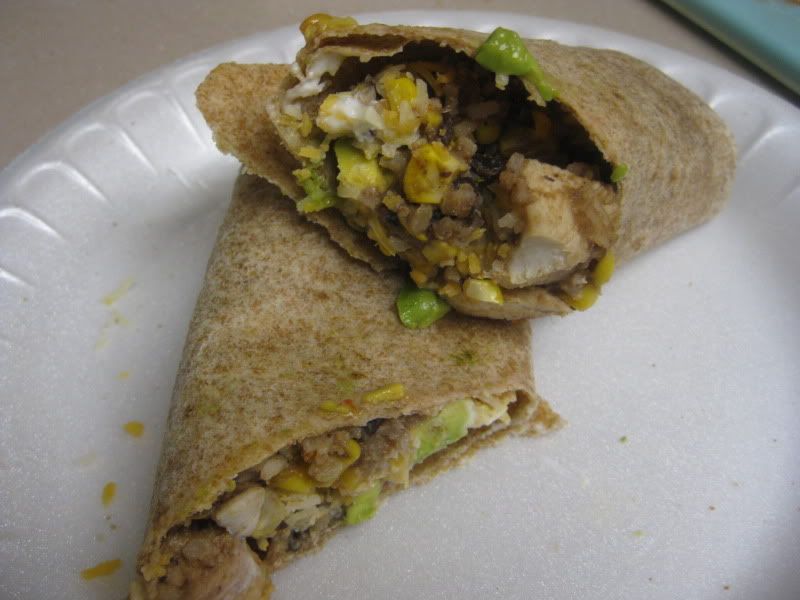
You don't need the whole kit and kaboodle (yeah, I just said that...I'm a granny apparently), just use what you have on hand. I decided to be healthy for like 5 minutes and use whole wheat tortillas. They tasted like caca. But you know, I was healthy! For 5 minutes!


Now, go crazy! The random toppings are the best part about burritos and wraps anyway. This recipe made six decent sized wraps. It was tasty but possibly a little bland if you ate the wraps plain. Just warning you/ But hey, better than running to Taco Bell and probably took all of 10 minutes tops!

Monday, September 20, 2010

Chicken and Mushroom "Hot Pockets"


My local grocery store was having a massive sale on canned biscuits recently. Since I'm a crazed coupon user, I was able to score about 10 cans for a dollar or two. Total. That's how I roll! Get it? ROLL! Ha. Needless to say, I have quite the glut of Grands! biscuits in my freezer (did you know you can freeze those tube things? You can. They won't explode. Promise).

After searching recipes on Pillsbury.com, I happened upon one that resembled a homemade chicken Hot Pocket (they titled it Chicken To Go Biscuits, but a) that doesn't make sense, and b) I can call a Hot Pocket when I see one). Speaking of Hot Pockets...that's another Jim Gaffigan comedy bit that I love. I swear this blog is turning into a Jim Gaffigan fanpage. Maybe because all he talks about is food, and that's all I write about...

Let's get started on the Hot Pockets! Sing it with me: "Hooooot Pock-ets!!!".


The ingredients. I made a few small changes I should warn you about - first, I had some sliced raw mushrooms in the fridge, so I just cooked those down really quick in a skillet instead of using the canned ones. Secondly, and more important, I did not use the crushed cornflakes as a breading as the recipe states  - because why? Also: ew! What kind of crazy person decided that cornflakes needed to be used on anything other than a bowl of milk? Cornflakes are kinda sweet too, and I don't want sweet near anything with chicken and/or mushrooms. It would be like coating your Hot Pocket with chocolate chips. Yeah, flippin' gross. The same argument goes for Hawaiian pizza and the insane people who like it. Why not pepperoni and oranges? Sausage and cherries? It's the same idea, you sickos!


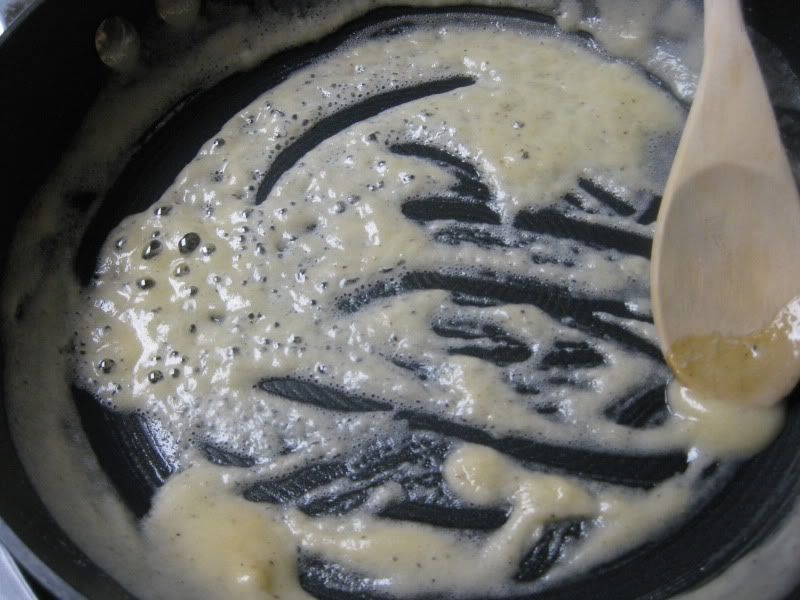
Start by melting some butter in a skillet on medium heat, then stir in the flour, salt and pepper. It will quickly start to thicken up.


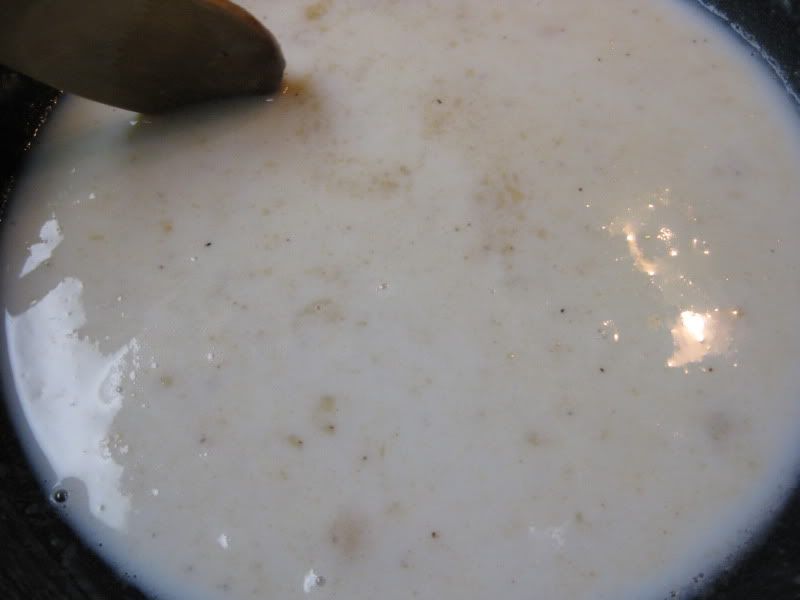
Dump in the milk, and heat for a minute or so.


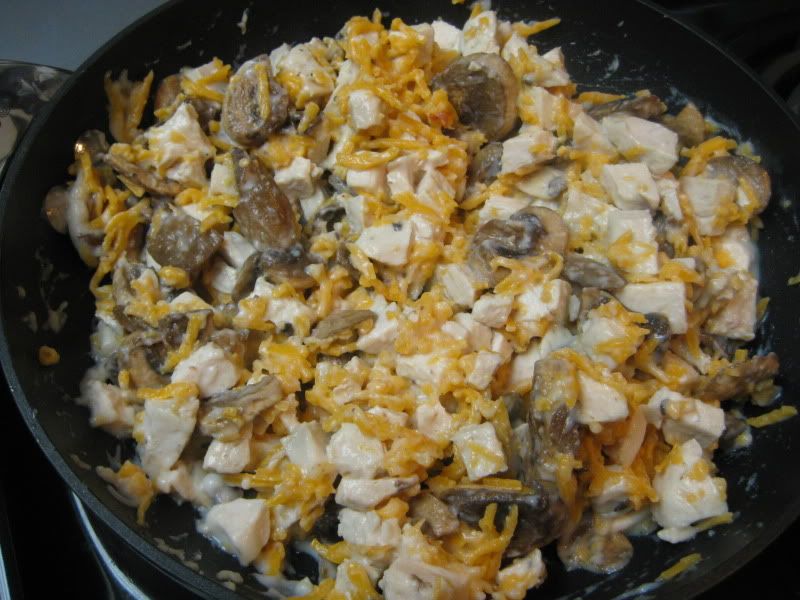
Stir in the chicken, cheese, and mushrooms, take off the heat, and set aside. I kept snatching bits of this to eat because well, I'm chubby and I wanted to, so there.


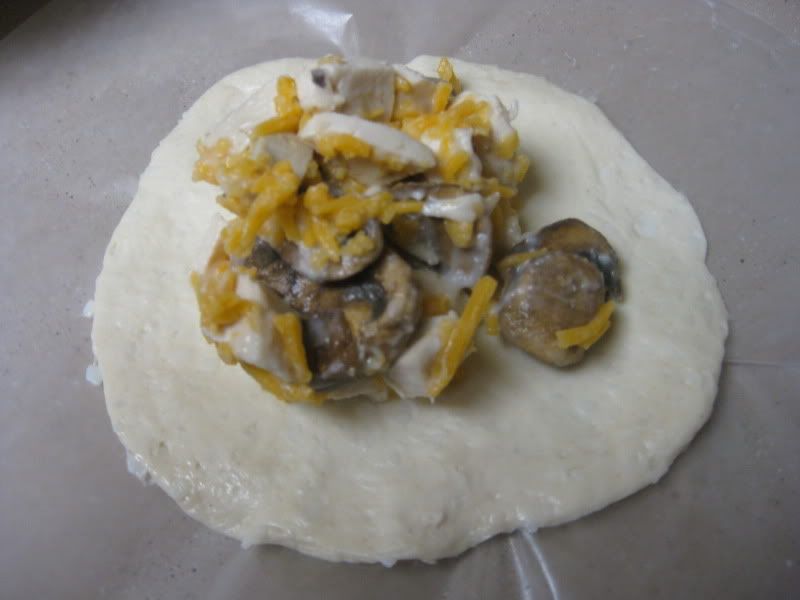
Now take your can of biscuits and open it up. Or, if you're like me, make someone else (AKA my dear husband) do it for you because the anticipation of the can popping open wigs me out. You're going to want to roll out (or just use your hands to press out) the biscuits into a large circle, as large as you can get it. I found it helpful to sandwich the biscuit between sheets of wax paper, and also to do one biscuit at a time - when I rolled out all of the biscuits, by the time I started filling them they reverted back to their tiny normal shape. I even tried "tossing" the biscuits like pizza dough to stretch it out further. Place 1/3 cup of mixture onto the flattened biscuit.


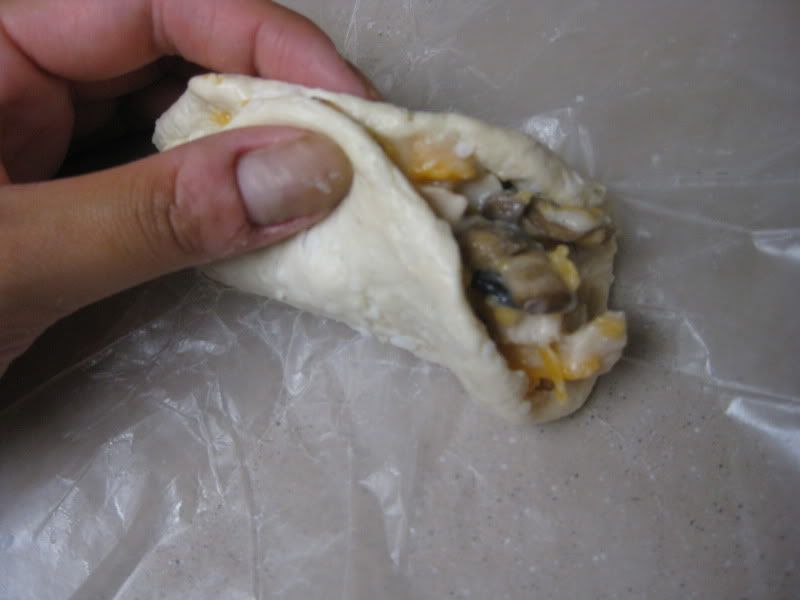
Ugh, I need a manicure. Anyway, start pinching together the ends of the biscuit into a calzone shape. This was kind of a giant pain in the butt, but it got easier with practice.


Then, use a fork to go around the edges to press down and seal again.


Why do my fingers look so pink? Ew. Ahem. Dip the Hot Pocket into egg, then bread crumbs and place on an ungreased cookie sheet. Bake at 350 degrees for 20 minutes.


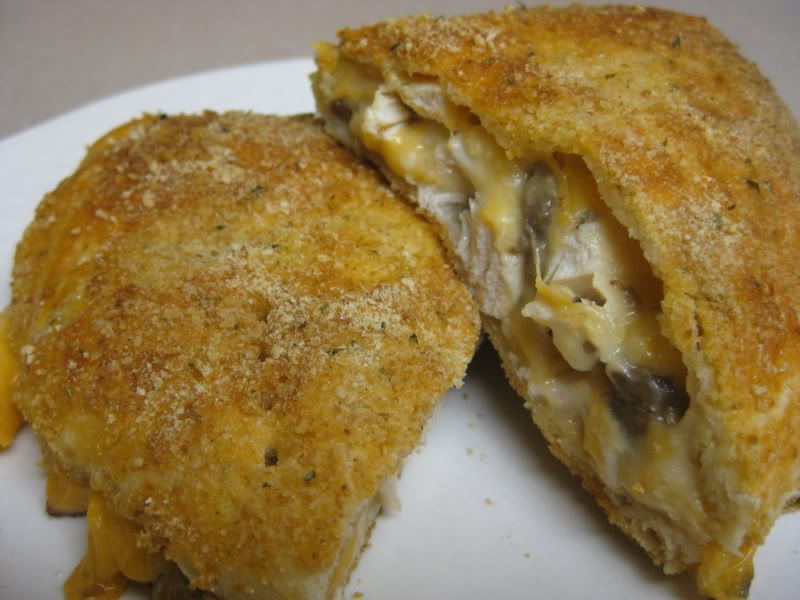
The final product. I let mine cool, taste tested one of them - it was yummy! Lightyears better than the storebought ones - then put the remainder in a freezer ziploc bag to take to work for lunchies. You can pop these directly from the freezer into the microwave for about a minute and 30 seconds,  or until the middle is molten lava.


Chicken Hot Pockets

2 tablespoons butter or margarine
2 tablespoons flour
1/4 teaspoon salt
Dash pepper
1/2 cup milk
2 cups cubed cooked chicken
1 1/4 cups (5 oz.) shredded Cheddar cheese
1/2 cup (4 oz.) chopped or sliced drained mushrooms
1 (16.3-oz.) can Pillsbury® Grands!® Refrigerated Buttermilk Biscuits
1 egg, slightly beaten
3 cups cornflakes, crushed (I used a cup of Italian breadcrumbs instead)
Heat oven to 375°F. In medium saucepan, melt butter; stir in flour, salt and pepper until well blended. Add milk all at once. Cook about 1 minute until thickened, stirring occasionally. Stir in chicken, cheese and mushrooms; set aside.

Separate biscuit dough into 8 biscuits. Roll or pat each into 5-inch circle. Place about 1/3 cup chicken mixture on each biscuit circle. Wrap dough around chicken mixture, pressing edges to seal.

Dip rolls in egg, then coat with crushed cornflakes. Place on ungreased cookie sheet. Bake at 375°F. for 20 to 25 minutes until golden brown.

Source: Pillsbury

Crispy Baked Chicken with Teriyaki Sauce


New policy here on Diet Starts Monday!: when a recipe is a bust, I'm not posting the step-by-step pics. I figure, what's the point, right?

Well kids, we're putting this policy into action today. I know, how convenient. I found a recipe online for the most delicious looking, faux-fried, chicken yummy perfection with a homemade teriyaki dipping sauce and started drooling. It looked like chicken katsu, one my favorite entrees from Hawaiian restaurants where the chicken is deep fried. Japanese restaurants also make something similar, but with pork. Mmmmm deep fried pork. Check it out the recipe here for yourself, why don't you? It's ok, I'll wait.

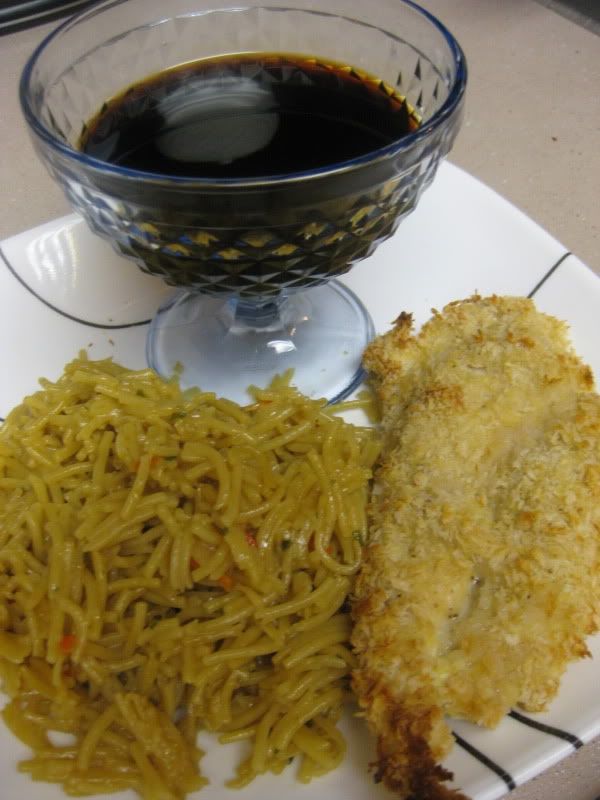
Doesn't that look just delish? Well, compare her glorious chicken with my hot mess above, and you have why this recipe was a bust. My chicken did not brown up at ALL, it was seriously was pale and scary in person. Maybe it's my oven? I considered putting it under the broiler to brown it up, but the broiler scares me (what?!? It gets too hot! Yes, I know that's the point).

The teriyaki sauce was good, but in my opinion, not really worth the effort to make at home when a good quality bottled sauce will do just fine. Here's the recipe below, if anyone else wants to give it a whirl.

Crispy Baked Chicken with Teriyaki Sauce

For the sauce:
3 tbsp. soy sauce
3 tbsp. freshly squeezed orange juice
3 tbsp. sake
3 tbsp. sugar
3 tbsp. mirin
For the chicken:
½ cup all-purpose flour
½ tsp. garlic powder
2 tsp. salt
½ tsp. pepper
2 large eggs
1½ cups panko breadcrumbs
1 lb. boneless, skinless chicken breasts (about 2-3)
Nonstick cooking spray


To make the sauce, combine the soy sauce, orange juice, sake, sugar and mirin in a small saucepan.  Bring to a boil, reduce the heat to low and let simmer for 6 minutes, until slightly thickened.  Remove from the heat and set aside.

Preheat the oven to 475˚ F.  In a shallow bowl or pie plate, whisk together the flour, garlic powder, salt and pepper.  In a second bowl, lightly beat the eggs together.  Place the panko in a third shallow bowl or pie plate.  Place a wire rack over a baking sheet and spray lightly with nonstick cooking spray.

Butterfly the chicken breasts into halves so that you have 4-6 pieces total.  Lightly season both sides of the chicken pieces with salt and pepper.  Using tongs and working with one piece of chicken at a time, dredge the chicken in the flour mixture to coat both sides.  Shake lightly to remove any excess.  Then dip into the eggs and shake gently to remove any excess.  Finally place in the panko, turning to coat well.  Transfer to the prepared wire rack.  Repeat with the remaining chicken pieces.  Once all the chicken pieces are in place, spray lightly with cooking spray.

Bake for 15 minutes, until the chicken is cooked through and the bread crumbs are golden.  Let rest a few minutes before slicing and serving.  Serve with the teriyaki dipping sauce.

Source: Annie's Eats